CRAZY HACKS
Perfect for tiny houses, roadtrips, camping, or just low-carbon living, this DIY washing machine is easy to make and use!
I love camping, and one of the things which don't fit in the living space that I missed having the most was a washing machine. However, I made do most of the time with a bucket and only traveled to the laundromat when the weather was really nasty!
It worked great for me, and although washing clothes manually did take a bit of physical effort, I also found that it offered a great incentive to only wash things when they were truly dirty, and not just toss things in the hamper after wearing them once. And I got to put all of that greywater from washing clothes back in the soil, which is another great low-tech method of water efficiency at home, and which I still continue to do even after buying an electric washing machine.
If you'd like to have the option of washing laundry manually, for whatever reason, then building one of these DIY washing machines will only set you back about $10 or less, and the only tool you need to make it is a drill and bits. I like this design because not only does it seem to get better water flow around and through the clothes by incorporating a second bucket (also making for easier draining and rinsing), but also because it is designed to be used with a lid on it.
For a source for free 5-gallon buckets, try asking the kitchen staff at bakeries, institutional cafeterias (schools, hospitals), delis or restaurants, because a lot of food ingredients come in these containers, which usually just end up in the recycling after they get emptied. Steer clear of the buckets used for pickles or sauerkraut, unless that's the way you roll...
Yesterday I started to clean up my apartment and thought ''Why not make a drill brush first?''
To make this drill brush you’ll need: a drill, a washer, a bolt, a long machine screw and a brush head replacement.
Start by threading the machine screw though the brush head so the head of the screw rests in the brush head hole. On the other side of the brush head, slide on the washer and secure it in place with a nut. Make sure to tighten it well with a wrench. However, do not over-tighten, as this may cause the plastic brush head to crack. Next, attach the scrubber head to the drill.
To clean, fill a bowel or bucket with hot water and dish soap (or the cleaning agent of your choice). Dip the power scrubber into the mixture just enough to saturate the bristles and do not submerge the drill!
Now simple point and press the drill to start and let the drill brush do the work!
TIMESTAMPS:
2:14 Cutting safety
5:52 Toilet comfort
8:08 Bucket laundry machine
9:47 Cleaning with a drill
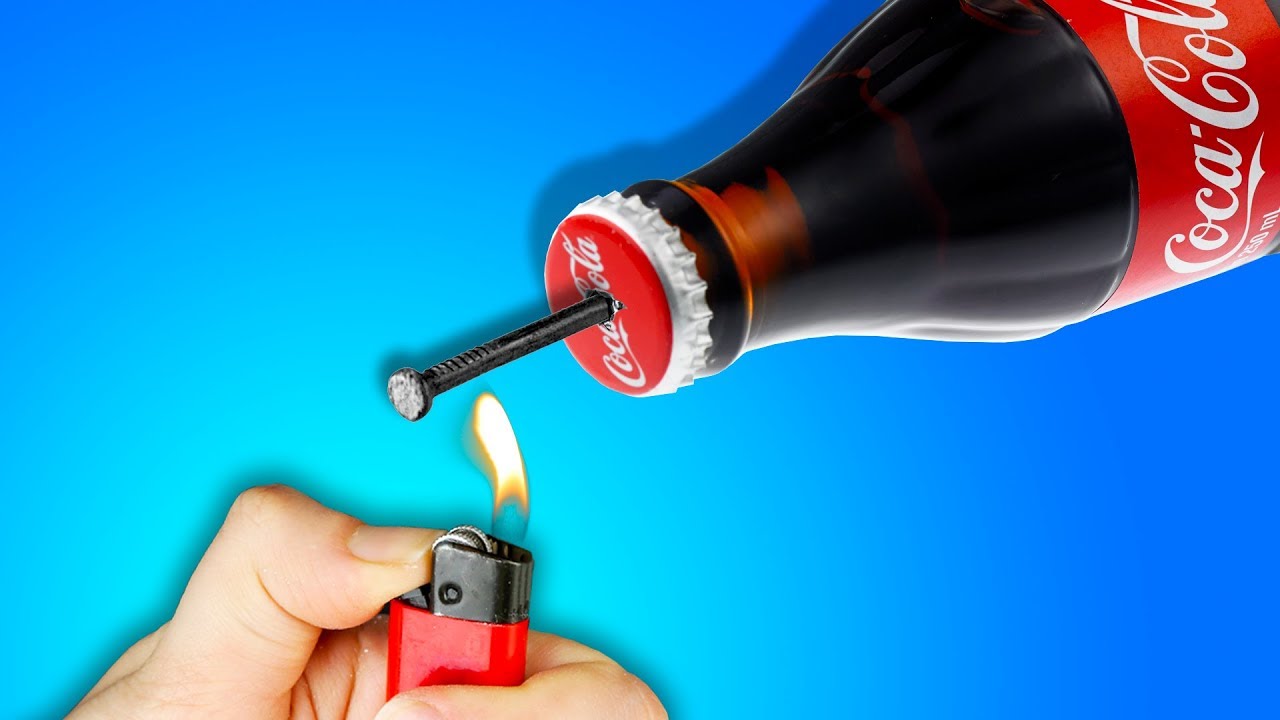
11:28 Soda machine at home
----------------------------------------------------------------------------------------
Our Social Media:
Facebook: https://www.facebook.com/5min.crafts/
Instagram: https://www.instagram.com/5.min.crafts/
Twitter: https://twitter.com/5m_crafts
Subscribe to 5-Minute MAGIC: http://bit.ly/2ldditZ
Subscribe to 5-Minute Crafts GIRLY: https://goo.gl/fWbJqz
Subscribe 5-Minute Crafts KIDS: https://goo.gl/PEuLVt
The Bright Side of Youtube: https://goo.gl/rQTJZz
----------------------------------------------------------------------------------------
For more videos and articles visit:
http://www.brightside.me
Music by Epidemic Sound: https://www.epidemicsound.com/
25 CRAZY HACKS YOU WILL LOVE ─ 5-Minute Crafts

<style>.embed-container { position: relative; padding-bottom: 56.25%; height: 0; overflow: hidden; max-width: 100%; } .embed-container iframe, .embed-container object, .embed-container embed { position: absolute; top: 0; left: 0; width: 100%; height: 100%; }</style><div class="embed-container"><iframe src="https://www.youtube.com/embed/I692CNrmOFc" frameborder="0" allowfullscreen></iframe></div>