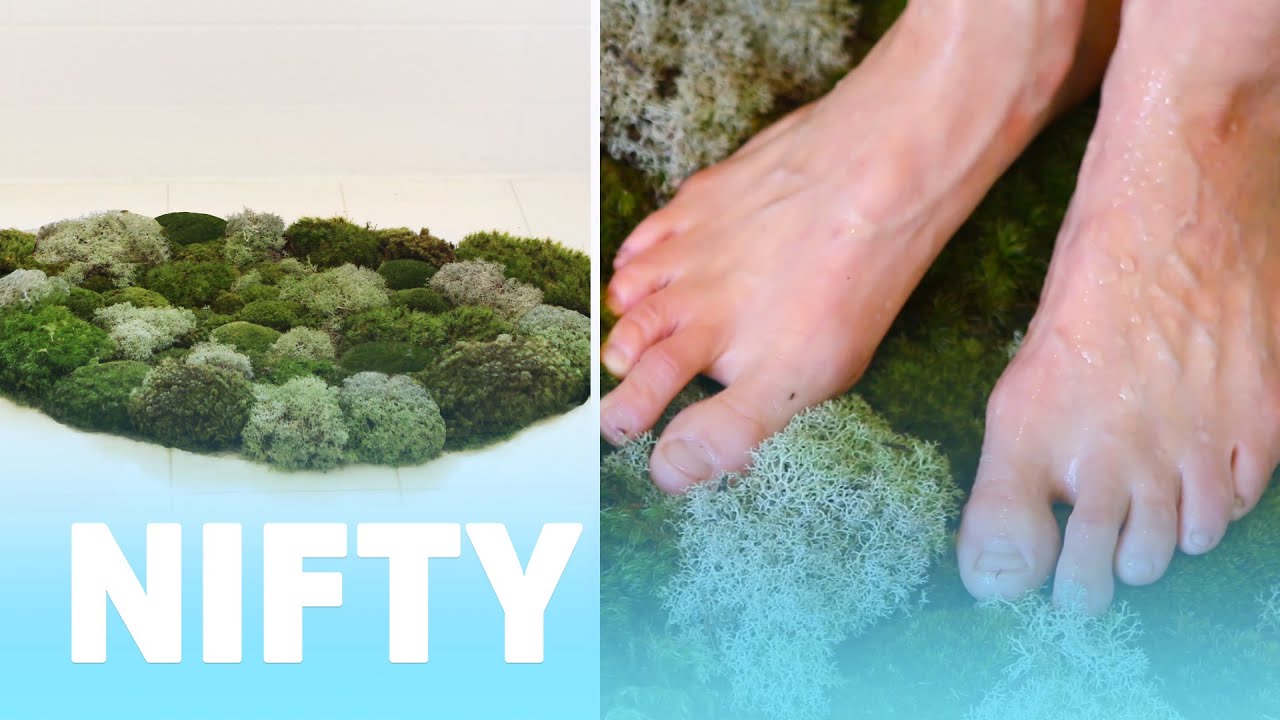
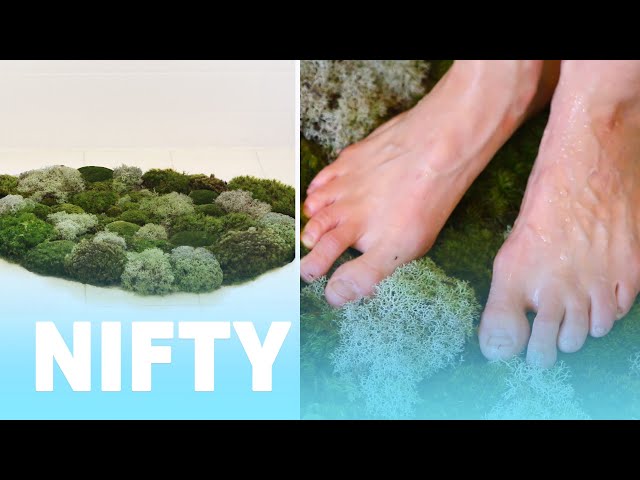
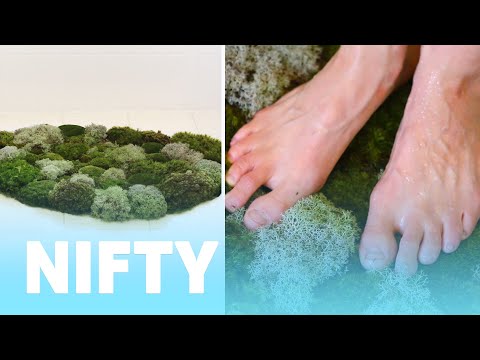
Bring the outdoors in with a living moss bath mat. Using a variety of live moss plugs for different textures and cushioning, you’ll be surprised how luxurious and clean your feet will feel! Moss mats are also easy to take care of - surviving off the bathroom steam and droplets from your feet, and the occasional misting. Making your own design with a shape and color scheme to match your bathroom decor and personal style makes this is a unique addition to your home!
Here is what you'll need!
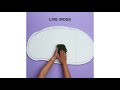
Moss Bath Mat
Bring the outdoors in with a living moss bath mat. Using a variety of live moss plugs for different textures and cushioning, you’ll be surprised how luxurious and clean your feet will feel! Moss mats are also easy to take care of - surviving off the bathroom steam and droplets from your feet, and the occasional misting. Making your own design with a shape and color scheme to match your bathroom decor and personal style makes this is a unique addition to your home!
MATERIALS
Plastic foam floor mats x 4 (ideal for wet-dry use)
Clear silicone adhesive or industrial strength glue
Utility knife
Assorted live moss (aka moss plugs)
INSTRUCTIONS
1. Fit and glue mats together to create one larger mat to cut a shape from. You’ll need two layers of mats. Let dry per the adhesive’s instructions.
2. Stack mats together and draw an organic shape with a marker or chalk pen. Depending on the side you want to end up with up (smooth vs. textured), flip so that you are drawing on the underside and in reverse).
Allow room for a border within the mat of at least 1 in / 2 cm. Mark out the border if you wish.
3. Cut the mat shape on the first outline and then outline the second layer of mat before cutting. The mat can be hard to cut through in one single stroke so take your time and make multiple cuts.
4. Lay out the moss plugs on your newly cut mat, and arrange them as you’d like (remember they will be flipped though before you set them in). It might be helpful for you to take a photo of the arrangement for reference later. Mark broad shapes around the moss to guide you for the small holes to cut.
5. Cut the inner shapes out on the top layer of mat only.
6. Glue the two layers of mats together. Remember to flip it upside down before gluing so that you don’t see any marker outlines.
7. After the glue has dried, mist the mats with a spray bottle, and continue to do so as you assemble the moss plugs in.
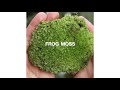
8. Fill the holes in the mat with the moss plugs. Many varieties of moss can be purchased online or in garden centers. Our favourites were reindeer moss, pillow or cushion moss, and frog moss. They are soft and velvety to touch, but are also hardy and will thrive in the humid bathroom conditions. Other hardy ground cover plants can also work! Keep misting the mat as you’re “planting” - you can also spritz the underside of the moss plug before placing.
9. Your new moss mat will need regular waterings for 2-3 weeks before it begins to attach to the the base permanently. In the meantime, you can place the mat by your shower or bath tub as you would with any other mat. The soft, plush moss will absorb water drops from your feet and bathroom steam. You can also top up with water sprays in between if you feel the moss drying out.
Check us out on Facebook! - facebook.com/buzzfeednifty
Credits: https://www.buzzfeed.com/bfmp/videos/...
MUSIC
Licensed via Audio Network
Living Moss Bath Mat ─ BuzzFeed Nifty

<style>.embed-container { position: relative; padding-bottom: 56.25%; height: 0; overflow: hidden; max-width: 100%; } .embed-container iframe, .embed-container object, .embed-container embed { position: absolute; top: 0; left: 0; width: 100%; height: 100%; }</style><div class="embed-container"><iframe src="https://www.youtube.com/embed/o4Q6eP8wBoo" frameborder="0" allowfullscreen></iframe></div>